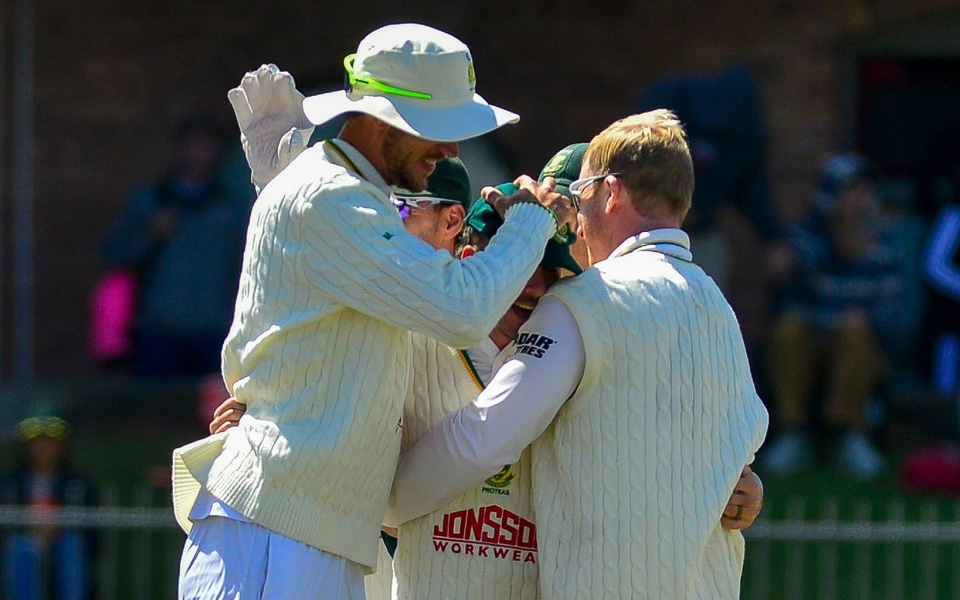
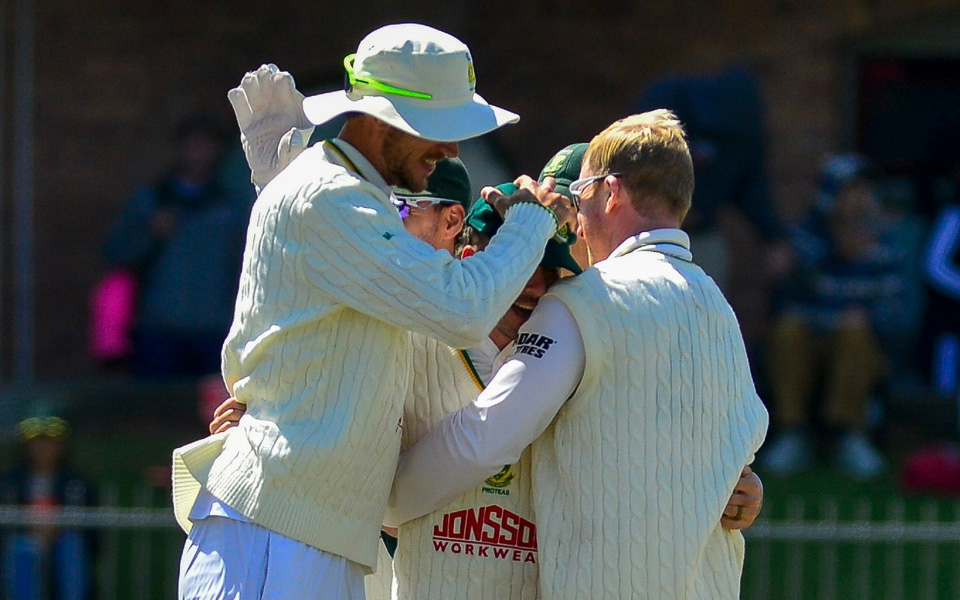
At Newlands in Cape Town on Saturday, October 31, South Africa completed a 176-run victory over Australia in the third Test to clinch the series 2-1. The result confirmed South Africa’s status as the world’s top-ranked Test side, having overturned a first-innings deficit to win the match and the rubber.
Off-spinner Simon Harmer was the decisive figure. He finished with ten wickets in the match, the first ten-wicket haul of his Test career, and career-best match figures of 10 for 120. His second-innings return of 6 for 16 off 21.1 overs dismantled Australia’s chase and settled the contest. He had also taken four wickets in the first innings to set up South Africa’s position.
Chasing 288 for victory, Australia were dismissed for 111 in their second innings. Nathan Lyon top-scored with 33 not out, and Cameron Green was the only batter among the top eight to face at least 30 balls, making 27 off 110 deliveries. Lyon and Pat Cummins added 45 for the ninth wicket, but that stand only delayed the inevitable. Kagiso Rabada contributed 3 for 39 in Australia’s second innings to support Harmer’s effort.
Australia’s first-innings total had been 429, which gave them a lead of 100 runs after South Africa posted 329 in reply. South Africa then built a second-innings score of 387, setting Australia their target of 288. Wiaan Mulder scored 115, Ryan Rickelton made 101 and Lhuan-dre Ackerman contributed 62 in that second innings to construct the platform from which Harmer and Rabada could operate.
Australia’s second-innings collapse to 111 meant they recorded consecutive sub-100-level totals in the context of the match’s final stages, a pattern not seen in Australian Test cricket since the 1936-37 Ashes series.
How did South Africa build a match-winning second-innings lead?
After conceding a first-innings deficit of 100 runs, South Africa needed a substantial second-innings performance to set a competitive target. Mulder’s 115, Rickelton’s 101 and Ackerman’s 62 provided the backbone of a total of 387, which left Australia needing 288 to win on a surface that was assisting spin considerably by the final innings.
The contributions from Mulder, Rickelton and Ackerman were spread across the order and gave South Africa enough runs to allow their bowlers to attack. The 288-run target proved well beyond Australia on a deteriorating Newlands pitch, where Harmer’s off-spin was particularly difficult to negotiate.
What does Australia’s second-innings batting performance reveal?
Australia’s second innings of 111 all out was a significant collapse against a target of 288. Harmer’s 6 for 16 restricted the entire batting lineup, with Green’s 27 off 110 balls standing out as the only extended resistance from the top eight. Lyon’s unbeaten 33 came lower in the order and, alongside Cummins, produced the match’s most stubborn partnership of 45 for the ninth wicket.
The fact that Australia’s last comparable sequence of consecutive low totals in a Test match dated to the 1936-37 Ashes underlines how unusual this collapse was. Rabada‘s 3 for 39 complemented Harmer’s dominance and ensured Australia had no avenue to rebuild once early wickets fell. The series result, a 2-1 win for South Africa, reinforced their position at the top of the Test rankings.
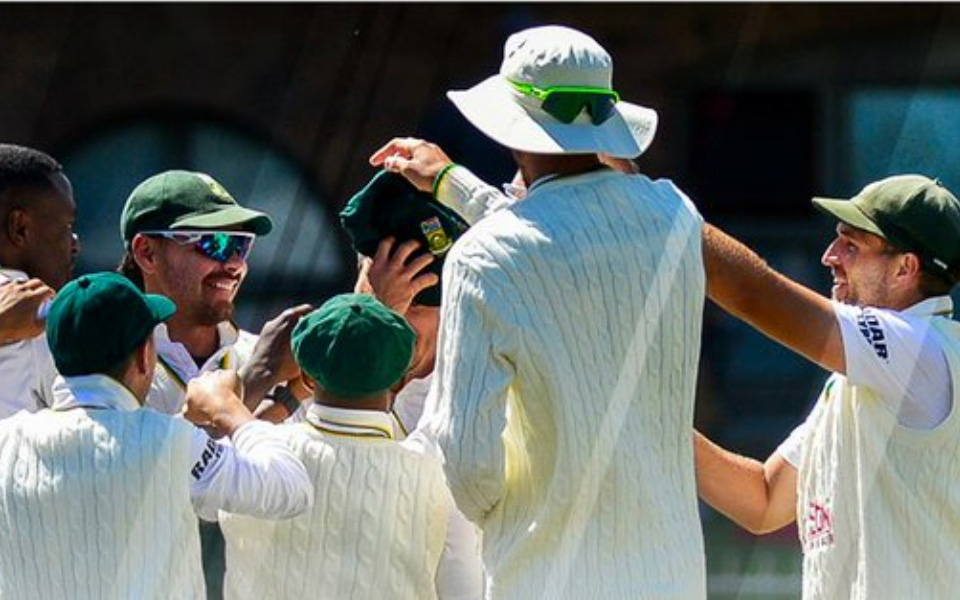 WTC 2025-27: Updated points table after South Africa’s historic win over Australia in Cape Town
 Ian Bishop lauds West Indies’ professionalism after Dhaka Test win despite financial burden
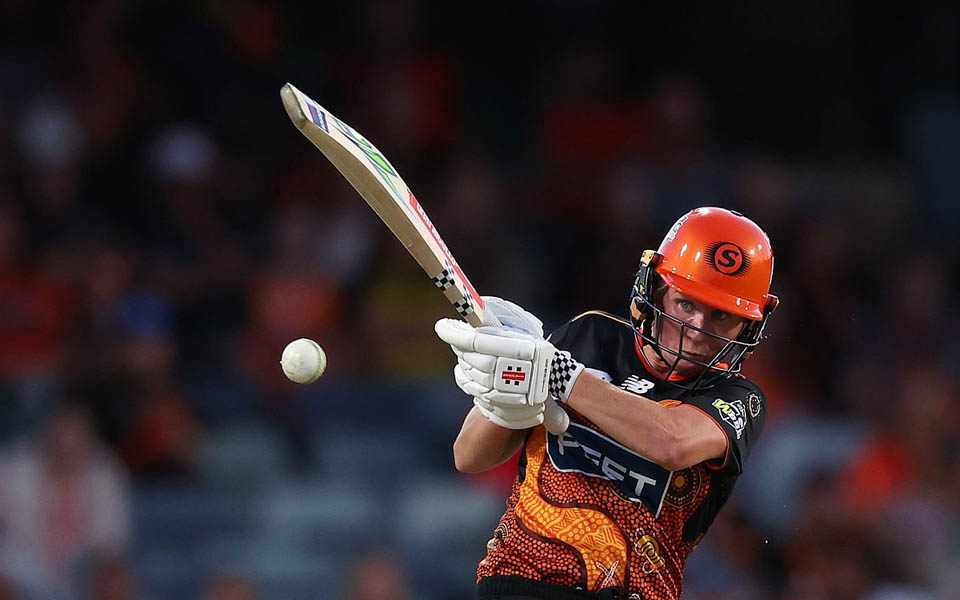 Perth Scorchers cruise through by 9 wickets at WACA to thump Melbourne Renegades
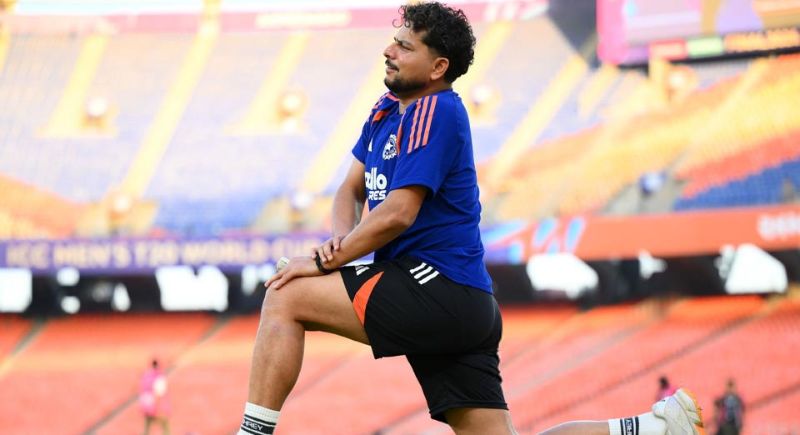 ‘India could have used Kuldeep Yadav’ – Ambati Rayudu criticises team selection during New Zealand T20Is